
Overview
Luxury vinyl plank (LVP) and luxury vinyl tile (LVT) are layered floors: a printed design under a clear, tough wear layer, on top of a vinyl core. Good products convincingly copy wood or stone, and because the planks are vinyl, they don’t swell when they get wet.
LVP has become the go-to floor for kitchens, basements and homes with pets. The trade-offs: it can’t be refinished, and how long it lasts depends heavily on the thickness of the wear layer and on a flat subfloor underneath.
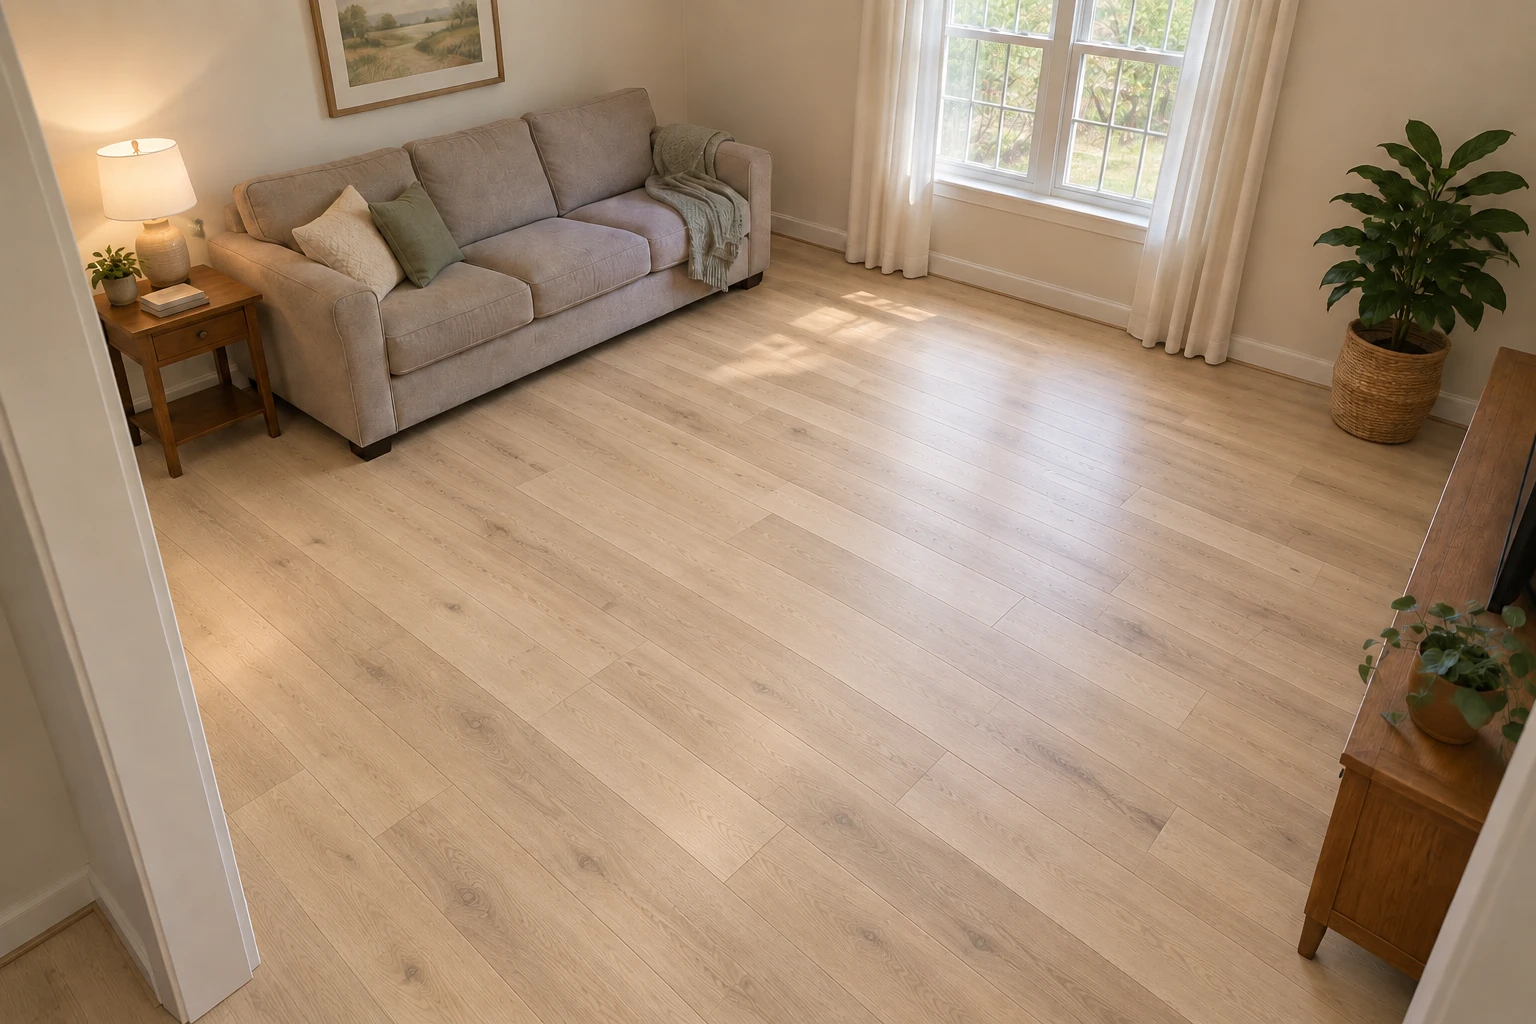
At a glance
- Water resistance
- High. The planks are waterproof; seams and edges still need care.
- Scratch resistance
- Good. Depends on the wear layer thickness.
- Feel underfoot
- Softer and warmer than tile, quieter with good underlayment.
- Typical lifespan
- 10–25 years, depending on quality.
- Can be refinished
- No. Damaged planks are replaced individually.
- Install time
- Often 1–3 days for several rooms.
Types of luxury vinyl
Rigid core (SPC and WPC)
Click-together planks with a stiff core. SPC (stone-plastic) is denser and more dent-resistant; WPC (wood-plastic) feels a little softer and quieter. Both hide minor subfloor flaws better than flexible vinyl and are the most common choice for homes.
Glue-down vinyl
Thinner, flexible planks glued to the subfloor. Very stable for large open areas and commercial spaces, but the subfloor has to be very smooth.
Wear layer
The clear top coat that takes the abuse, measured in mils. Around 12 mil suits most homes; 20 mil or more is better for pets, kids and rentals. It matters more than total plank thickness.
Where luxury vinyl works
| Kitchens | Great fit | Handles spills and heavy traffic. |
|---|---|---|
| Bathrooms and laundry rooms | Great fit | Waterproof planks; the edges are sealed in wet areas. |
| Basements | Great fit | Works over concrete after a moisture check. |
| Living areas and bedrooms | Great fit | A wood look at a lower cost. |
| Sunrooms | Good fit | Use blinds; strong sun can fade and heat the planks. |
| Stairs | Good fit | Needs matching stair nosing for a clean, safe edge. |
Pros and cons
Pros
- Waterproof planks for kitchens, bathrooms and basements
- Stands up to kids, pets and heavy traffic
- Realistic wood and stone looks
- Usually costs less than hardwood or tile
Cons
- Can’t be sanded or refinished
- Can dent under heavy furniture and fade in strong sun
- Shows bumps and dips if subfloor prep is skipped
- Doesn’t add value the way real hardwood can
What affects the cost
Every project is priced after your rooms are reviewed. These are the factors that move the number most.
- Size and layout
- More rooms, closets and angles add cutting and labor.
- Product and wear layer
- Thicker wear layers, better core materials and attached underlayment cost more.
- Subfloor leveling
- Older homes often need patching or self-leveler. It’s the most common surprise cost, and the most important step.
- Removing the old floor
- Carpet always comes out; tile and glued-down floors take longer to remove.
- Stairs
- Each step is cut and fitted with nosing, which takes far longer than flat floor.
- Trim and transitions
- Baseboards, quarter round and thresholds between rooms.
Step by step
Measure and check the subfloor
Rooms are measured and the subfloor is checked for flatness. Concrete slabs get a moisture check.
Remove the old floor
Carpet and pad always come out. Flat, well-bonded tile or sheet vinyl can sometimes stay underneath.
Level and prepare
Low spots are patched, high spots are ground down, and a moisture barrier goes over concrete if the product requires it.
Lay out and install
Planks are laid from a straight reference line with staggered seams and an expansion gap at the walls. Door casings are undercut so planks slide underneath.
Trim and walkthrough
Baseboards, transitions and thresholds go in, the space is cleaned, and you get care instructions.
How to prepare
- Clear furniture and anything stored on the floor, including closets.
- In bathrooms, the toilet usually comes off so the floor runs underneath it.
- Leave the boxes in the room if asked; many products need 24–48 hours to acclimate.
- Plan for pets and kids to stay out of the work area.
- Expect noise during removal and subfloor prep.
Care and maintenance
- Sweep or vacuum regularly, without a beater bar.
- Damp-mop with a pH-neutral cleaner. Skip wax, polish and steam mops.
- Use felt pads and wide casters under heavy furniture.
- Choose rugs and mats labeled safe for vinyl; some rubber backings stain it.
- Close blinds in strong afternoon sun to prevent fading.
Inspiration
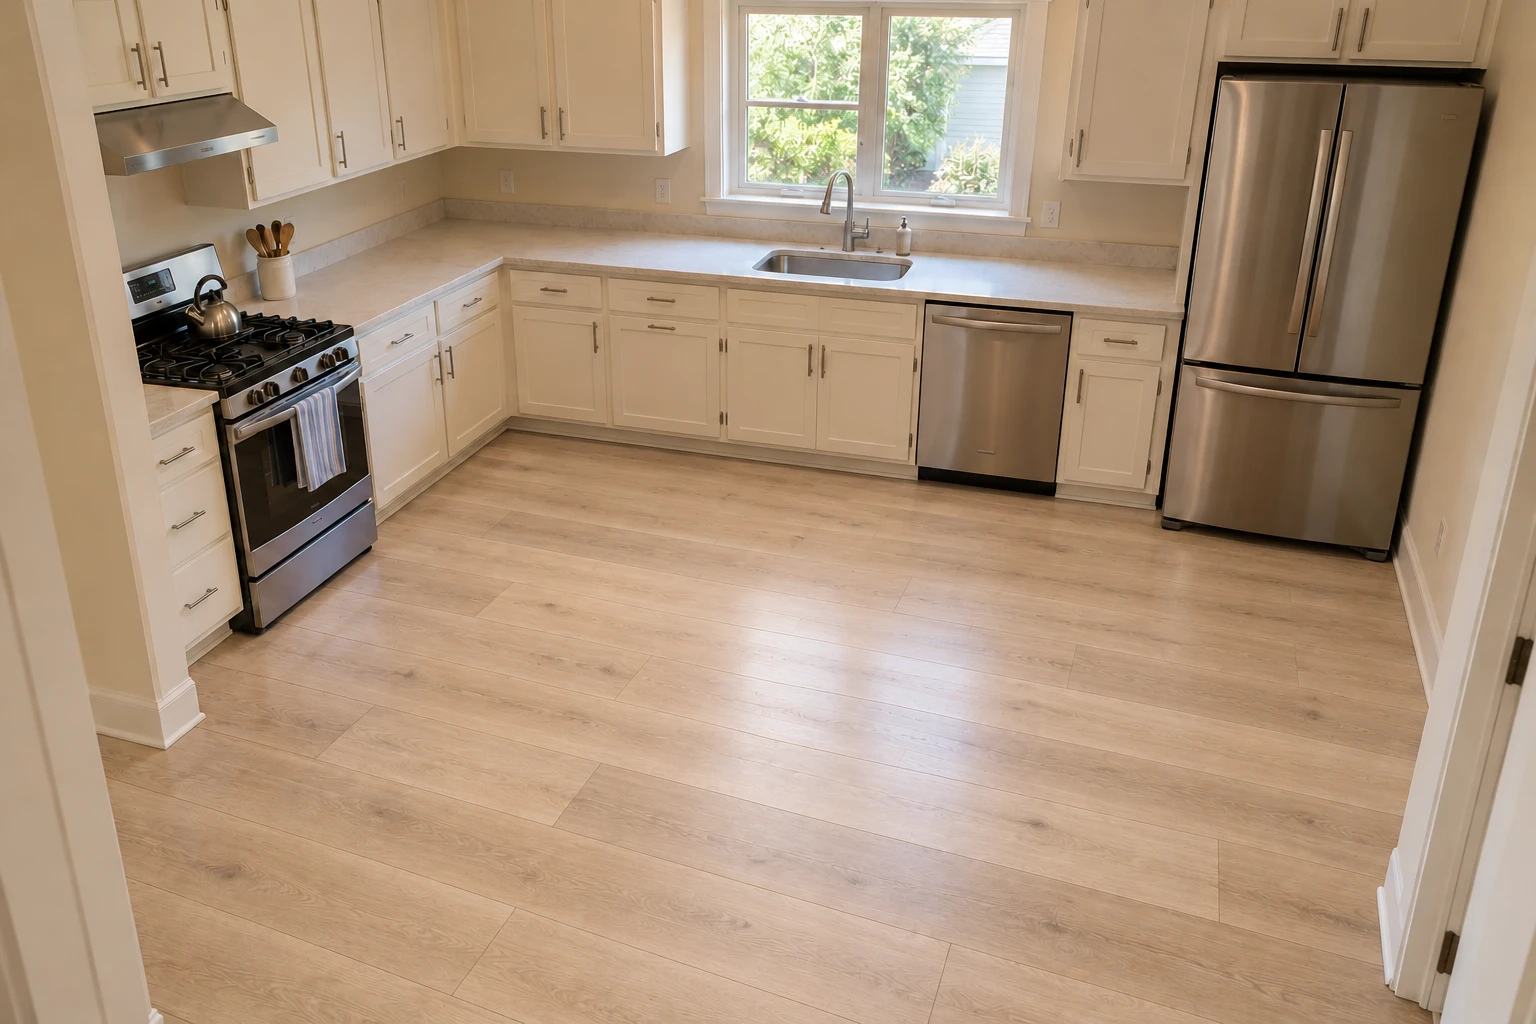
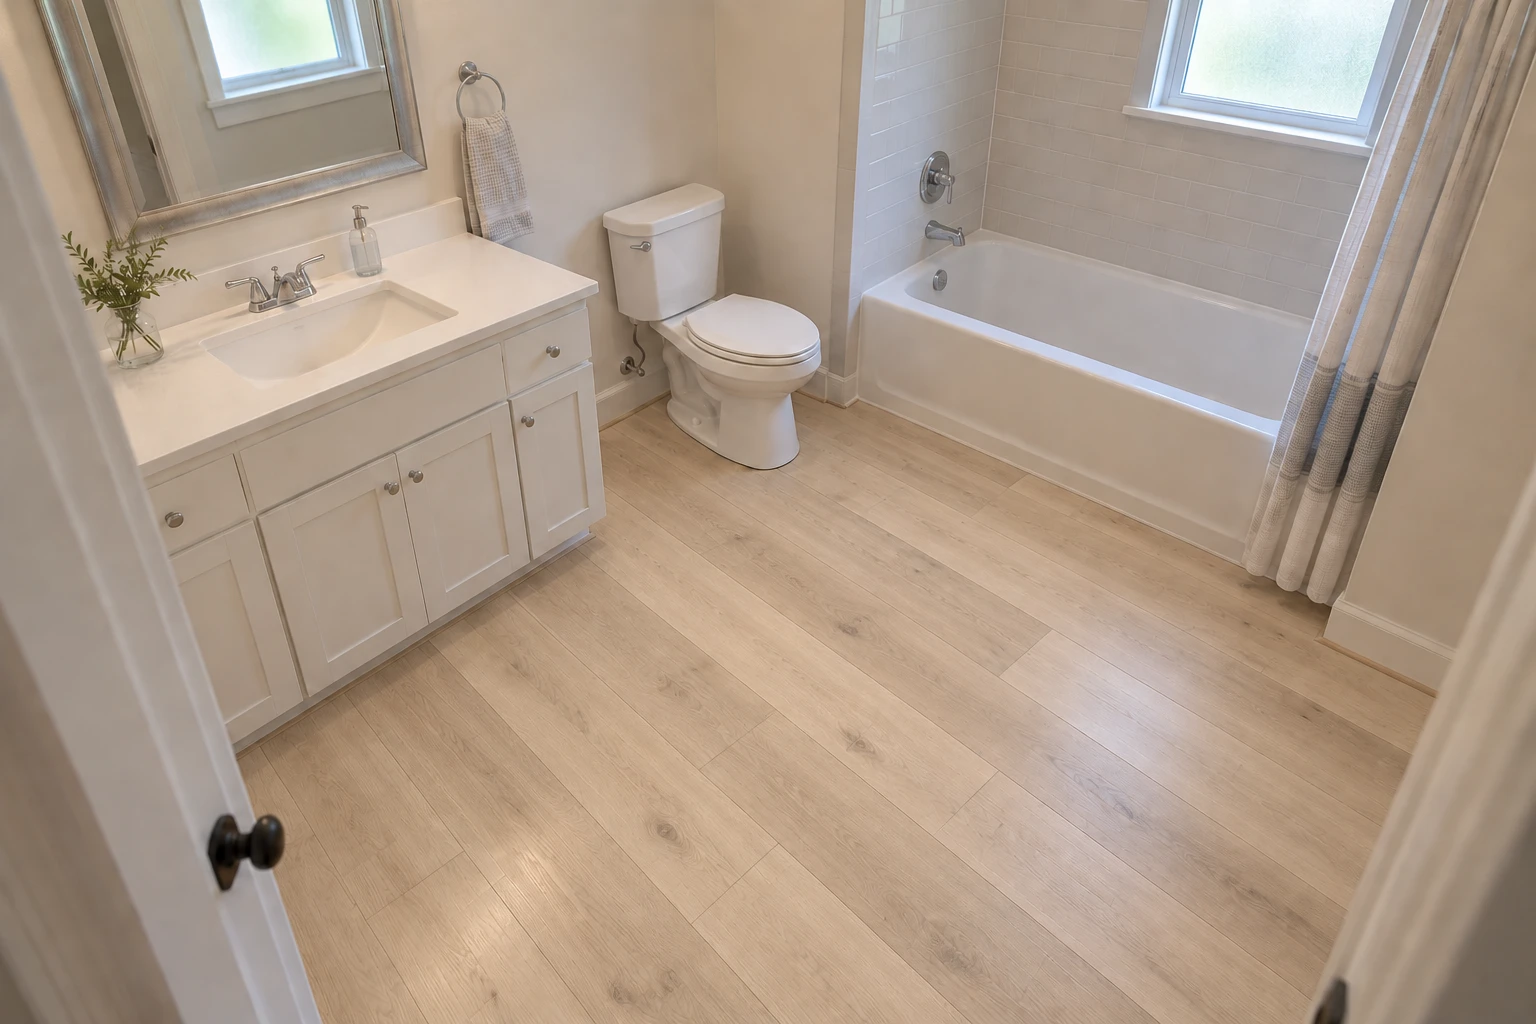
Frequently asked questions
- Is luxury vinyl really waterproof?
- The planks are. Water can still get underneath through edges and gaps, so big leaks need cleaning up quickly. For everyday spills, pet accidents and wet feet, it’s one of the best choices.
- Can LVP go over my existing floor?
- Often, if the existing floor is flat, solid and a single layer. Carpet always comes out first. This gets checked when your project is reviewed.
- What wear layer thickness should I choose?
- Around 12 mil is a good minimum for most homes, and 20 mil is better for busy households, pets and rentals. It matters more than how thick the plank is overall.
- LVP or laminate?
- Both can look like wood. LVP is vinyl and handles water better. Laminate has a wood-based core, feels a little firmer, resists scratches very well, and usually costs a bit less.
- Does luxury vinyl need to acclimate?
- Many manufacturers recommend leaving the boxes in the room for 24–48 hours before installation. The product’s own instructions are followed.
Ready to talk about your floors?
Send room photos or a few details and your project will be reviewed before anything is priced. No obligation.